The Pit Boss Manual PDF is a comprehensive guide for optimal use of Pit Boss grills and smokers. It covers assembly, operation, maintenance, and troubleshooting, ensuring safe and efficient cooking experiences.
1.1 Overview of the Pit Boss Grill Series
The Pit Boss Grill Series offers a wide range of innovative, pellet-fueled grills designed for versatile cooking. From the PRO Series to the Competition Series, these grills combine durability, advanced temperature control, and user-friendly designs. Models like the PB1100PSC1 and PB1600CS provide superior smoking and grilling performance. With features like digital controls and robust construction, Pit Boss grills cater to both beginners and experienced cooks, ensuring consistent results for smoked meats, vegetables, and more.
1.2 Importance of Reading the Manual
Reading the Pit Boss manual is essential for safe and effective use of your grill. It provides critical information on assembly, operation, and maintenance, ensuring optimal performance. The manual highlights safety precautions, proper startup procedures, and troubleshooting tips. By understanding the guidelines, users can avoid potential hazards and maximize efficiency. It also includes warranty details and maintenance schedules, helping to prolong the grill’s lifespan. Taking the time to read the manual ensures a seamless and enjoyable cooking experience.
1.3 Structure and Content of the Manual
The Pit Boss manual is structured to guide users through setup, operation, and maintenance. It begins with an introduction, followed by detailed assembly instructions and safety guidelines. The manual includes sections on temperature control, troubleshooting common issues, and model-specific information. appendices provide technical specifications, warranty details, and contact information for support. Clear diagrams and step-by-step instructions ensure users can easily understand and apply the information, making the manual an invaluable resource for both new and experienced grill owners. The content is organized logically to enhance user experience and accessibility.
Assembly Instructions
The Pit Boss manual provides detailed assembly instructions, including unpacking, inventorying parts, and step-by-step guidance. Tools and materials required are listed to ensure a smooth setup.
2.1 Unpacking and Inventory of Parts
Begin by carefully unpacking your Pit Boss grill to ensure no damage occurred during shipping. Next, thoroughly inventory all parts against the provided list to confirm completeness. This step is crucial for a hassle-free assembly process. Each component, from the grill body to smaller hardware, should be accounted for. Refer to the manual’s diagram for visual confirmation. Organize parts to streamline assembly and avoid delays.
2.2 Step-by-Step Assembly Process
Follow the manual’s detailed instructions for assembling your Pit Boss grill. Start by attaching the legs and wheels to the grill body, ensuring stability. Next, install the heat deflector and flame broiler; Carefully connect the hopper to the main unit and ensure all electrical components are securely attached. Refer to the provided diagrams for clarity. Complete the assembly by mounting the chimney and arranging the cooking grates. Double-check all connections before proceeding to ensure proper function and safety.
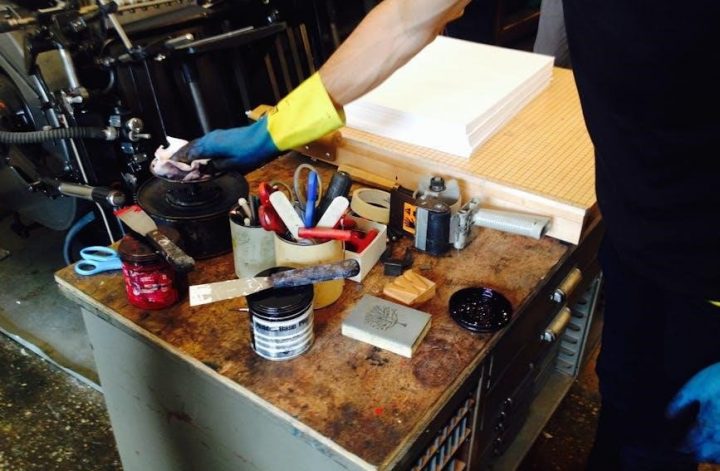
2.3 Tools and Materials Required
Assemble your Pit Boss grill using essential tools like a screwdriver, wrench, and hex key. Ensure you have all provided hardware, such as bolts, nuts, and washers. Additional materials like sealant or lubricant may be needed for specific parts. Refer to the manual’s parts list for clarity. Safety gear, such as gloves and goggles, is recommended. Organize tools and components beforehand to streamline the process. Consult the manual for specific requirements to ensure accurate assembly and functionality. Proper preparation prevents delays and ensures safety.
2.4 Common Assembly Mistakes to Avoid
When assembling your Pit Boss grill, avoid common mistakes like missing steps in the manual, misaligning parts, or over-tightening bolts. Ensure all connections are secure but not overly tightened, as this can damage components. Double-check the placement of critical parts, such as the fire pot and heat deflectors, as improper installation can affect performance. Follow the manual’s sequence to prevent assembly errors. Ignoring safety precautions or skipping steps can lead to unsafe conditions or malfunction. Careful assembly ensures proper function and longevity of your grill.
Operating the Pit Boss Grill
Operating the Pit Boss grill involves understanding the control panel, proper start-up procedures, and temperature settings. Regular maintenance ensures optimal performance and safety during use.
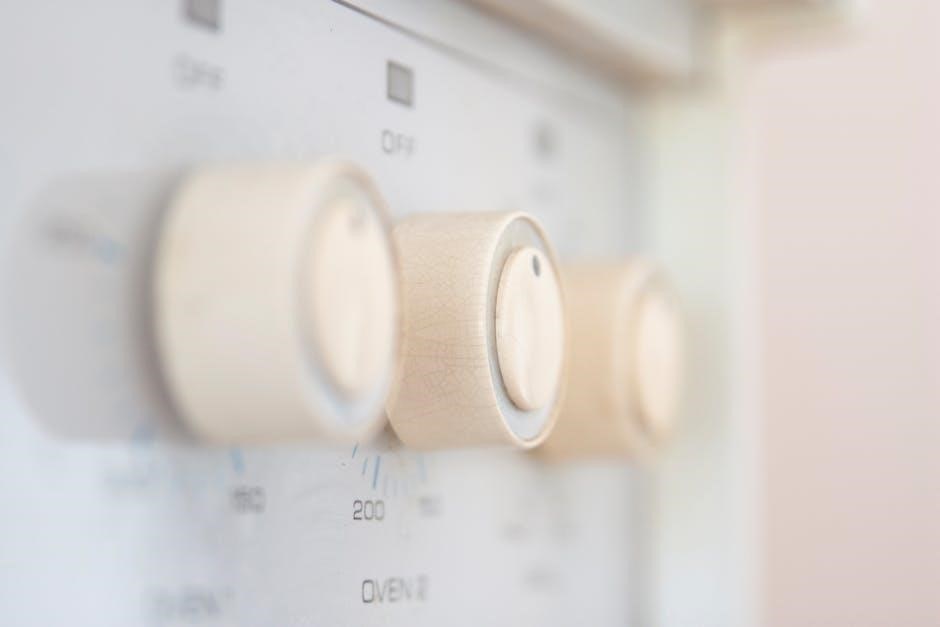
3.1 Understanding the Control Panel
The control panel is central to operating your Pit Boss grill. It features a temperature dial, digital display, and buttons for mode selection. Understanding these components ensures precise temperature control, allowing you to switch between smoke, grill, and other settings seamlessly. Familiarize yourself with indicators like the power button and pellet feed status to monitor and adjust your cooking process effectively. Proper use enhances your grilling experience and ensures consistent results every time.
3.2 Setting Up the Grill for First Use
Before first use, ensure your Pit Boss grill is properly assembled and cleaned. Preheat the grill to 350°F for 30 minutes to burn off any manufacturing residue. Next, prime the fire pot by holding the ignition switch until pellets start flowing. Allow the grill to cool, then wipe down surfaces with oil. This initial setup ensures optimal performance and prevents contamination. Regular maintenance and seasoning will help extend the life of your grill and enhance cooking results.
3.3 Manual Start-Up Procedure
- Turn the Temperature Control Dial to the SMOKE position.
- Ensure the fire pot is clear of debris for proper airflow.
- Plug the grill into a power source and press the ignition switch.
- Allow the unit to start and reach the desired temperature before cooking.
3.4 Temperature Control and Settings
The Pit Boss grill features a Temperature Control Dial for precise adjustments. Set the dial to SMOKE for low temperatures (150°F-300°F) or HIGH for maximum heat (up to 500°F). Use the digital control panel to select specific temperatures and monitor cooking progress. Ensure the grill preheats correctly before cooking to achieve consistent results. Regularly check and adjust settings to maintain optimal temperatures during cooking sessions. This feature ensures versatility for various cooking methods, from smoking to searing. Always monitor temperature during operation for the best outcomes.
Safety Precautions
Always maintain a 36-inch clearance from combustible materials and avoid using lava rocks or charcoal. Ensure proper ventilation and keep children away during operation. Regular inspections are essential for safe functioning. Follow all safety signs and instructions to prevent accidents. Proper handling of fuels and pellets is crucial to avoid hazards. Never leave the grill unattended while in use. Always adhere to the guidelines outlined in the manual for a safe cooking experience.
4.1 General Safety Instructions
Read the manual thoroughly before use to ensure safe operation. Maintain a minimum clearance of 36 inches from combustible materials. Ensure proper ventilation to avoid carbon monoxide buildup. Never use unauthorized accessories or modifications. Keep children and pets away during operation. Avoid wearing loose clothing near the grill. Always handle fuels and pellets with care to prevent spills or fires. Regularly inspect hoses, connections, and burners for damage. Follow all safety signs and symbols provided in the manual to minimize risks and ensure a safe cooking experience.
4.2 Clearance Requirements from Combustible Materials
Ensure your Pit Boss grill maintains a minimum clearance of 36 inches (914mm) from combustible materials like wood, leaves, or overhanging branches. This clearance must be upheld during operation to prevent fire hazards. Avoid placing the grill near flammable liquids, gases, or in enclosed spaces. Proper spacing ensures safe cooking and reduces the risk of accidental fires. Always check your surroundings before and during use to maintain a fire-safe environment.
4.3 Proper Handling of Fuels and Pellets
Only use high-quality, food-grade wood pellets designed for your Pit Boss grill. Avoid lava rocks, charcoal, or other unauthorized materials. Store pellets in a dry, cool place to maintain their quality. Never overload the hopper, as this can cause inefficiency or damage. Follow the manual’s guidelines for fueling to ensure safe and optimal performance. Proper handling prevents fire hazards and guarantees a consistent cooking experience. Always refer to the manual for specific fuel recommendations for your model.
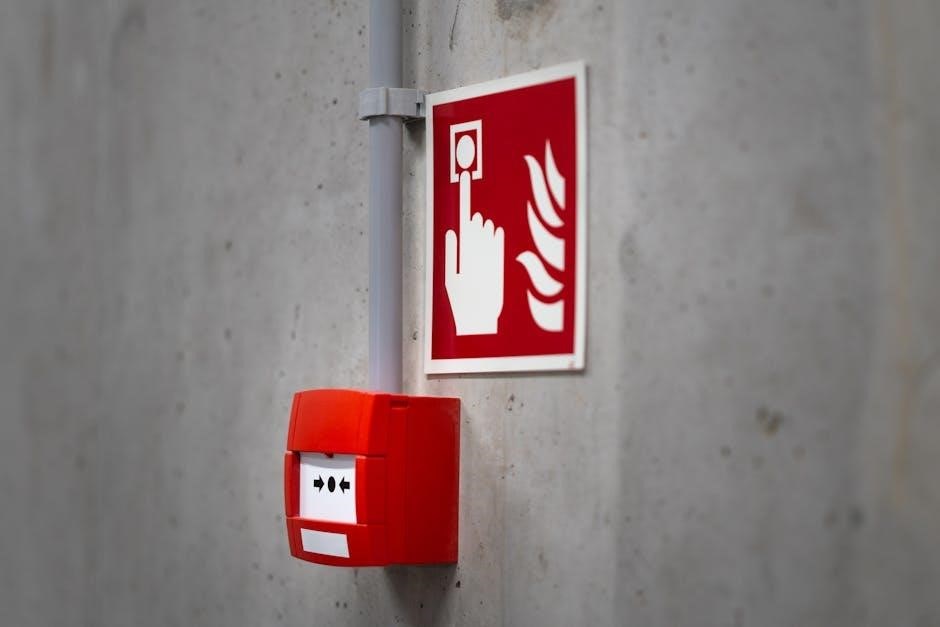
4.4 Safety Signs and Symbols in the Manual
The Pit Boss manual includes important safety signs and symbols to ensure safe operation. These symbols, such as warning, caution, and attention indicators, highlight potential hazards. For example, a fire symbol may indicate flammable materials, while a prohibited symbol alerts against incorrect actions. Understanding these signs is crucial to prevent accidents. Always read and follow the explanations provided in the manual. Ignoring these symbols can lead to personal injury or damage to the grill.Refer to the manual for a detailed explanation of all safety signs and symbols used.
Maintenance and Cleaning
Regular cleaning prevents residue buildup and ensures optimal performance. Deep cleaning involves sanitizing all surfaces and internal components; Lubricate moving parts periodically for smooth operation. Proper storage during winter is essential to maintain functionality and longevity.
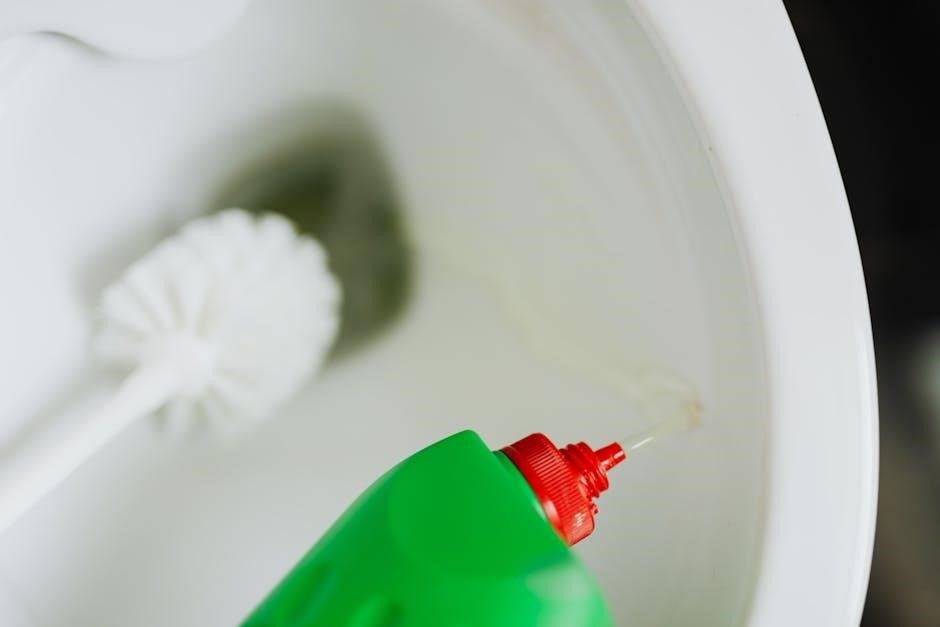
5.1 Regular Cleaning Procedures
Regular cleaning involves removing food debris from grates and surfaces. Use a stiff brush to scrub grates while warm. Wipe down exterior surfaces with mild soap and water. Clean grease traps and drip pans frequently to prevent buildup. Regularly inspect and clean the fire pot and heat diffuser to ensure proper airflow. Refer to the manual for specific cleaning solutions and avoid abrasive materials that may damage components. Consistent maintenance ensures optimal grill performance and longevity.
5.2 Deep Cleaning and Sanitizing
Deep cleaning involves thorough sanitization of all internal components. Remove grates, heat diffusers, and grease pans for soaking in warm soapy water. Use a mixture of equal parts water and white vinegar in the grill at high heat to eliminate residue. Scrub interior surfaces with a non-abrasive cleaner, then rinse and dry. Sanitize food-contact areas with food-safe sanitizers. Regular deep cleaning prevents bacteria buildup and ensures a clean cooking environment. Always follow manual guidelines for safe and effective sanitizing practices.
5.3 Lubrication and Part Replacement
Regular lubrication of moving parts, such as wheels and hinges, ensures smooth operation. Apply food-grade silicone spray to prevent rust and wear. Replace worn-out components like gaskets and igniter electrodes promptly. Use genuine Pit Boss replacement parts for compatibility and performance. Lubricate after cleaning to maintain functionality. Proper maintenance extends the grill’s lifespan and ensures optimal performance. Always refer to the manual for specific lubrication points and replacement guidelines.
5.4 Storage and Winterization Tips
Store your Pit Boss grill in a dry, protected area during off-seasons. Cover it with a durable, weather-resistant cover to shield from moisture and debris. Winterization involves cleaning and lubricating moving parts to prevent rust. Disconnect and store electrical components safely. Ensure pellets are sealed tightly to maintain freshness. Follow manual guidelines for proper storage to preserve your grill’s condition and readiness for future use. Regular maintenance ensures longevity and optimal performance when you resume grilling.

Troubleshooting Common Issues
Troubleshooting guides address common problems like temperature fluctuations, ignition failures, and pellet jamming. Reset procedures and diagnostic tips help restore optimal performance and resolve operational issues effectively.
6.1 Identifying Common Problems
Common issues with Pit Boss grills include temperature fluctuations, ignition failures, and pellet jams. Users may also experience errors in digital controls or inconsistent smoke production. Identifying these problems early is crucial for maintaining performance. The manual provides detailed diagnostic steps to help users recognize symptoms and apply the correct fixes. By understanding these common issues, owners can address them promptly, ensuring their grill operates efficiently and safely; Regular maintenance and troubleshooting can prevent many of these problems from occurring.
6.2 Solutions for Temperature Fluctuations
Temperature fluctuations in Pit Boss grills can often be resolved by ensuring proper pellet quality and adequate airflow. Check for blockages in the fire pot or auger and clean as needed. Verify that the RTD sensor is functioning correctly and positioned properly. Adjusting the P-setting may also stabilize temperature. Regularly cleaning the grill and ensuring pellets are dry can prevent such issues. If problems persist, consult the manual or contact customer support for further assistance.
6.3 Addressing Ignition and Fuel Feed Issues
Ignition and fuel feed issues in Pit Boss grills often stem from obstructions in the fire pot or auger. Ensure the fire pot is clear of ash and debris. Check the pellet supply for moisture, as damp pellets can disrupt ignition. Verify that the auger motor is functioning properly and pellets are flowing freely. If issues persist, consult the manual for reset procedures or contact customer support for assistance. Regular maintenance can prevent such problems.
6.4 Resetting the Grill to Factory Settings
Resetting the Pit Boss grill to factory settings can resolve persistent operational issues. Power off the grill and disconnect from power. Hold the dial for 10 seconds while reconnecting to reset. This restores default settings, clearing any customizations. After resetting, recalibrate temperature sensors and settings as needed. Ensure to follow the manual’s instructions for a proper reset to maintain optimal performance and warranty compliance. Regular resets can prevent software glitches and ensure smooth operation.

Model-Specific Guides
The Pit Boss manual includes detailed guides for specific models like PRO Series, Competition Series, PB1100PSC1, PB1600CS, Copperhead, and PBV4NX, ensuring tailored assembly and operation instructions.
7.1 PRO Series Assembly and Operation
The PRO Series manual provides a detailed guide for assembling and operating your Pit Boss grill. It includes step-by-step instructions for unpacking, inventorying parts, and constructing the unit. The manual also covers operational basics, such as temperature control, pellet management, and cooking techniques. Additionally, it offers maintenance tips to ensure longevity and troubleshoot common issues. By following the PRO Series guide, users can maximize their grilling experience and achieve consistent, flavorful results. This section is tailored for models like Pb1100psc1 and Pbv4nx.
7.2 Competition Series Owners Manual
The Competition Series manual offers detailed guidance for owners of Pit Boss vertical pellet smokers. It covers initial setup, operation, and maintenance tailored to models like Pbv5cs and 10924. The manual provides step-by-step instructions for assembly, temperature management, and cooking techniques. Additionally, it includes troubleshooting tips and safety precautions specific to vertical smokers. This guide ensures users can unlock the full potential of their Competition Series grill, achieving professional-grade results with ease and consistency. Regular updates are available for optimal performance.
7.3 PB1100PSC1 and PB1600CS Models
The PB1100PSC1 and PB1600CS models are high-performance Pit Boss grills designed for versatility and durability. Their manuals provide specific instructions for assembly, operation, and maintenance, ensuring optimal performance. These models feature advanced temperature control and pellet management systems. Users can achieve precise cooking results with detailed guidance on startup procedures, temperature settings, and troubleshooting. The manuals also emphasize safety and proper care to extend the grills’ lifespan, making them indispensable for both novice and experienced grillers.
7.4 Copperhead and PBV4NX Models
The Copperhead and PBV4NX models are advanced Pit Boss grills offering superior functionality. Their manuals detail unique features like enhanced temperature control and pellet feed systems. These models cater to both home and professional use, with guides on assembly, operation, and maintenance. The manuals also cover troubleshooting for common issues, ensuring seamless cooking experiences. Proper care instructions help maintain performance and longevity, making these models a favorite among grill enthusiasts seeking precision and durability.
Additional Resources
The Pit Boss manual directs users to additional resources, including replacement parts, online forums, and customer support. Visit www.pitboss-grills.com for the latest updates and assistance.
8.1 Finding Replacement Parts
Replacement parts for Pit Boss grills and smokers are readily available through the official website and authorized dealers. Visit www.pitboss-grills.com or check online marketplaces like ManualsPDF.ru for genuine components. Popular categories include grills, smokers, and food thermometers. Ensure compatibility by referring to your specific model number. Downloading the latest manual or contacting customer support can also help locate the correct parts for your Pit Boss product. Always use authorized parts to maintain performance and safety.
8.2 Online Communities and Forums
Engage with Pit Boss enthusiasts through online communities and forums dedicated to grilling and smoking. These platforms offer valuable resources, troubleshooting tips, and recipe ideas. Visit the official Pit Boss website for links to recommended forums. Share experiences, ask questions, and gain insights from fellow users. Active communities on social media and specialized BBQ forums provide additional support and inspiration for mastering your Pit Boss grill. Stay connected to enhance your grilling expertise and stay updated on the latest trends and techniques.
8.3 Contact Information for Customer Support
For assistance with your Pit Boss grill, contact customer support directly. Visit the official Pit Boss website at www.pitboss-grills.com for contact details. Reach them via phone at 1-800-289-5913 or email at support@pitboss-grills.com. Support is available Monday-Friday, 8am-5pm MST. Their team is ready to address questions, concerns, or warranty inquiries. Ensure to have your product model and serial number handy for efficient service. This resource is crucial for resolving issues and maximizing your grilling experience with Pit Boss products.
8.4 Downloading the Latest Manual Updates
To ensure you have the most up-to-date information, visit the official Pit Boss website at www.pitboss-grills.com. Navigate to the “Support” section to access the latest PDF manuals for your specific model. Manuals are also available on platforms like ManualsLib and ManualsPDF.ru. Regularly updating your manual ensures access to new features, troubleshooting guides, and improved instructions. This helps maintain optimal performance and safety for your Pit Boss grill or smoker.

Environmental and Technical Specifications
The Pit Boss Manual PDF details energy efficiency, emission standards, and technical specs, ensuring eco-friendly operation and compliance with safety regulations while maintaining high performance and durability.
9.1 Technical Details of the Grill
The Pit Boss Manual PDF outlines key technical specifications, including dimensions, weight, and material composition. It provides details on pellet hopper capacity, heating elements, and temperature control systems. The manual also covers electrical requirements, such as voltage and wattage, ensuring compatibility with various power sources. Additionally, it specifies the type of pellets recommended for optimal performance and durability. This section is essential for understanding the grill’s operational capabilities and maintenance needs.
9.2 Energy Efficiency and Consumption
The Pit Boss Manual PDF details the grill’s energy efficiency, highlighting minimal pellet consumption rates and optimal power usage. It explains how the grill’s design maximizes heat retention, reducing energy waste. The manual also covers eco-friendly features, such as low emission outputs and energy-saving modes. By understanding these details, users can operate their grill efficiently, balancing performance with environmental responsibility.
9.3 Emission Standards and Compliance
The Pit Boss Manual PDF outlines compliance with environmental regulations, ensuring the grill meets emission standards for safe operation. It specifies pellet combustion efficiency and adherence to local air quality guidelines. The manual also provides guidelines for maintaining eco-friendly performance, such as proper pellet usage and regular maintenance. Compliance ensures both safety and environmental responsibility, making Pit Boss grills a sustainable choice for outdoor cooking.

Warranty and Legal Information
The Pit Boss Manual PDF details warranty terms, conditions, and legal disclaimers. It outlines return and refund policies, ensuring compliance with manufacturer obligations and user protections.
10.1 Warranty Terms and Conditions
The Pit Boss Manual PDF outlines specific warranty terms, covering parts and labor for a defined period. It includes conditions for valid claims, such as proper use and registration, while excluding damage from misuse or modifications. Users must adhere to these terms to maintain warranty coverage and ensure manufacturer support for repairs or replacements.
10.2 Return and Refund Policies
The Pit Boss Manual PDF details return and refund policies, outlining the process for returning defective or unwanted items. Customers must initiate returns within a specified timeframe, ensuring products are in original condition with packaging intact. Refunds are typically issued after inspection, excluding shipping costs. Damaged or used items may not qualify for refunds. The manual also specifies exceptions and special cases, ensuring clarity for consumers seeking returns or exchanges.
10.3 Disclaimer and Liability Statements
The Pit Boss Manual PDF includes disclaimers and liability statements to protect the manufacturer and inform users. It specifies that Pit Boss is not liable for damages resulting from misuse, third-party claims, or indirect losses. The manual emphasizes adherence to safety guidelines and local regulations. Users are responsible for ensuring compliance with all applicable laws and standards. The disclaimer also outlines the limitations of warranties and remedies, ensuring clarity on the company’s legal standing and customer responsibilities.