Article Plan: Ball Fruit Fresh Instructions (as of 02/27/2026 06:21:54)
This comprehensive guide details everything about “Ball Fruit,” from its spherical shape and playful uses to culinary applications and cultural significance, ensuring freshness.

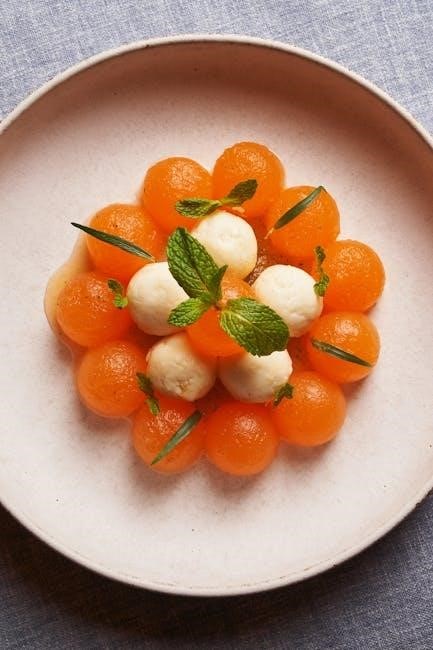
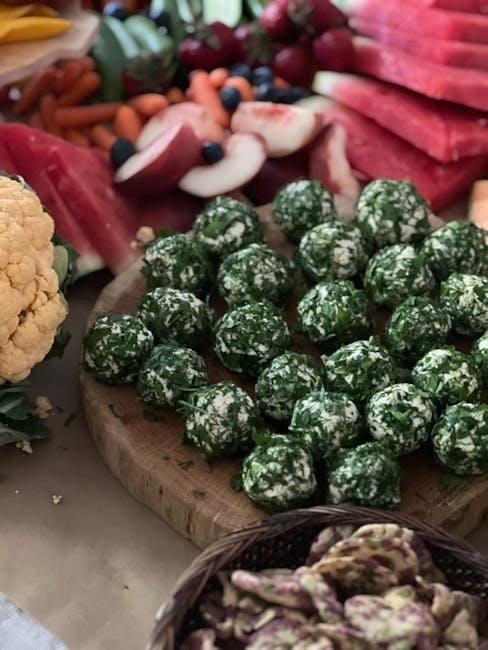
Ball Fruit represents a fascinating category of produce, often characterized by its nearly perfect spherical shape, reminiscent of a ball – hence the name. While the term might initially conjure images of playful objects, Ball Fruit encompasses a surprising diversity of edible varieties.
This guide serves as your definitive resource for understanding everything related to Ball Fruit, from identifying optimal ripeness and proper storage techniques to unlocking its full culinary potential. We’ll explore its origins, nutritional benefits, and how it’s enjoyed across different cultures.
Prepare to discover a world beyond the simple “sphere” and delve into the vibrant freshness that Ball Fruit offers!
What is Ball Fruit?
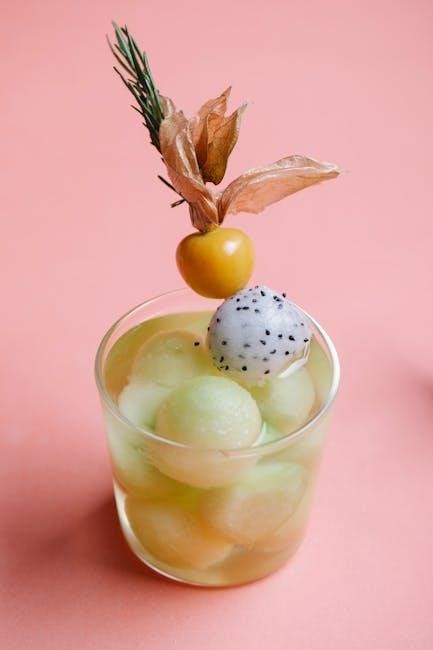
Ball Fruit isn’t a single fruit, but a descriptive term applied to various fruits exhibiting a predominantly spherical form. This includes certain melon types, specific citrus varieties, and even some unique berry cultivars. The defining characteristic is its roundness, often making it visually appealing and easy to handle.
Interestingly, the name draws a parallel to the common “ball” used in games, highlighting the fruit’s shape. While not a botanical classification, “Ball Fruit” is a convenient way to group these visually similar produce items. Understanding this distinction is key to appreciating the diversity within this category.
Varieties of Ball Fruit
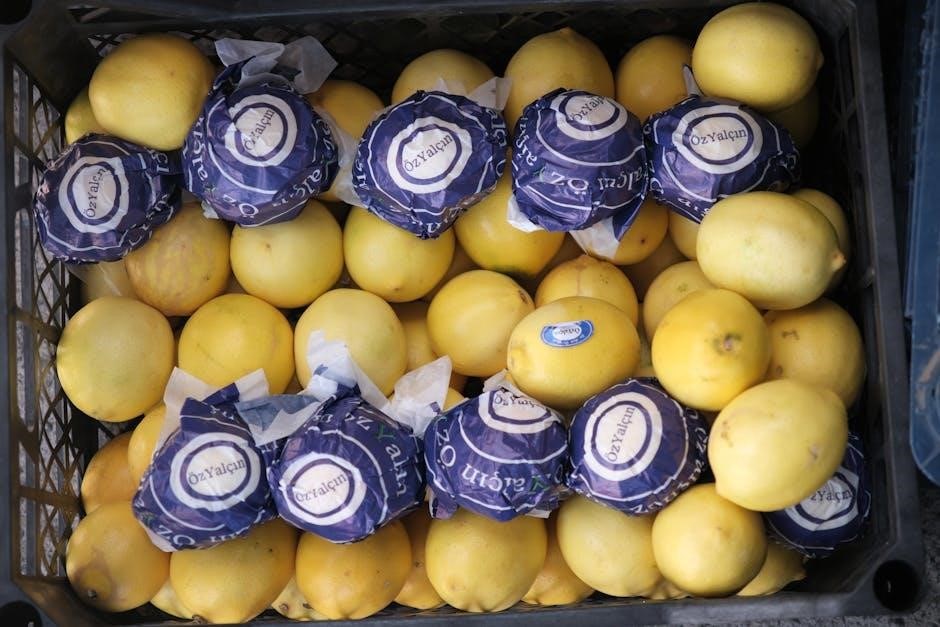
The “Ball Fruit” category encompasses a surprising range of options. Common types include certain spherical honeydew melons, particularly those bred for uniform roundness. Smaller citrus fruits like kumquats also fit the description, as do some varieties of grape tomatoes when considered alongside traditional fruits.
Regional variations are significant; in some areas, specific pomelo types are marketed as “Ball Fruit” due to their shape. Others might include unique, round plum varieties. This naming convention is often localized, reflecting preferred shapes and sizes within specific agricultural regions and consumer preferences.
Common Types Available
Frequently encountered “Ball Fruit” includes perfectly round honeydew melons, often cultivated specifically for their shape and appealing to consumers seeking uniformity. Kumquats, with their bright orange hue and small, spherical form, are another readily available option. Certain grape tomato varieties, prized for their sweetness and bite-sized portions, also qualify.
Additionally, smaller, rounder citrus fruits like certain mandarin orange cultivars sometimes fall into this category. Availability varies seasonally and geographically, but these represent the most commonly found “Ball Fruit” options in most markets.
Regional Variations
“Ball Fruit” preferences demonstrate significant regional diversity. In East Asian markets, smaller, perfectly round citrus fruits are highly valued, often presented as gifts symbolizing good fortune. Mediterranean regions favor miniature melons and specific grape tomato types, incorporating them into salads and appetizers.
South American countries often showcase unique, locally-grown spherical fruits, sometimes heirloom varieties not widely available elsewhere. North American availability tends to be more standardized, focusing on common melon and citrus options. These variations reflect local climates, agricultural practices, and culinary traditions.
Nutritional Value of Ball Fruit
“Ball Fruit,” encompassing various spherical produce, offers a diverse nutritional profile. Generally, these fruits are excellent sources of Vitamin C, boosting immunity and acting as a potent antioxidant. Mineral composition varies by type, but potassium is commonly present, aiding heart health and blood pressure regulation.
Fiber content contributes to digestive wellness and promotes satiety. Specific varieties boast high levels of antioxidants like lycopene or beta-carotene, protecting against cellular damage. The nutritional benefits are maximized when consumed fresh and as part of a balanced diet, contributing to overall wellbeing.
Vitamin Content
“Ball Fruit” varieties demonstrate a rich vitamin profile, notably Vitamin C. This essential nutrient strengthens the immune system, acting as a powerful antioxidant to combat free radicals. Many “Ball Fruits” also contain significant amounts of Vitamin A, crucial for vision and skin health.
Furthermore, certain types provide B vitamins, supporting energy metabolism and nerve function. The specific vitamin concentrations differ based on the fruit’s species and ripeness. Consuming these fruits regularly contributes to meeting daily vitamin requirements, promoting optimal health and vitality.
Mineral Composition
“Ball Fruit” isn’t just vitamins; it’s a notable source of essential minerals. Potassium is abundant, supporting healthy blood pressure and muscle function. Magnesium contributes to nerve and muscle relaxation, while also aiding in energy production.
Trace minerals like iron, vital for oxygen transport, and zinc, crucial for immune function, are also present. Calcium content varies, but contributes to bone health. The mineral profile enhances the overall nutritional value, making “Ball Fruit” a beneficial addition to a balanced diet, promoting overall well-being.
Fiber and Antioxidant Levels
“Ball Fruit” provides a respectable amount of dietary fiber, aiding in digestive health and promoting satiety. This fiber content supports gut microbiome balance and regular bowel movements. Beyond fiber, “Ball Fruit” boasts a rich antioxidant profile.
These antioxidants, including Vitamin C and various phytonutrients, combat free radicals, protecting cells from damage. This protective action may reduce the risk of chronic diseases. The combination of fiber and antioxidants makes “Ball Fruit” a powerful contributor to a healthy lifestyle, bolstering the body’s natural defenses.
Selecting Fresh Ball Fruit
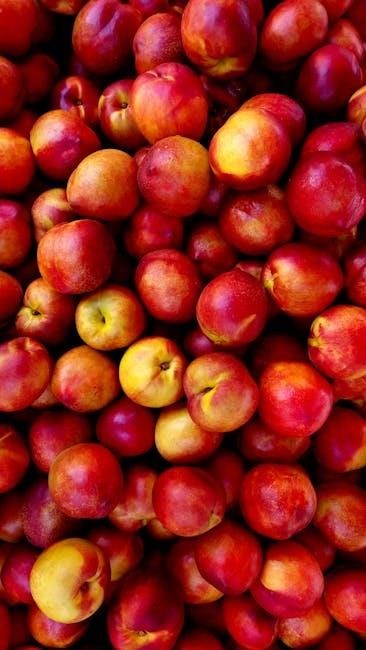
Choosing ripe “Ball Fruit” requires careful observation. Look for vibrant, consistent color – avoid fruits with blemishes or discoloration. A slight sheen indicates freshness, while dullness suggests age. Gently press the fruit; it should yield slightly to pressure, indicating ripeness, but not be overly soft or mushy.
Avoid fruits that feel hard as a rock, as they likely haven’t fully matured; The weight should feel appropriate for its size – a heavier fruit often signifies juiciness. Inspect the stem area; a fresh, green stem is a good sign. Prioritize fruits free from cuts, bruises, or mold.
Visual Indicators of Ripeness
Determining “Ball Fruit” ripeness visually begins with color assessment. Fully ripe fruit exhibits a rich, even hue, varying depending on the specific variety; Look for a vibrant, consistent tone across the entire surface, avoiding any green patches which suggest under-ripeness.
A slight gloss or sheen often indicates freshness and optimal maturity. Dullness or a faded appearance can signal that the fruit is past its prime. Inspect for blemishes, bruises, or signs of mold – these are clear indicators to avoid selection. The presence of a healthy, green stem is also a positive visual cue.
Tactile Assessment (Feel)
Assessing “Ball Fruit” ripeness through touch is crucial. Gently apply light pressure to the fruit’s surface; a slight give indicates optimal ripeness. It shouldn’t be rock-hard, signifying under-ripeness, nor excessively soft or mushy, suggesting over-ripeness or spoilage.
A firm, yet yielding texture is ideal. Avoid fruits with noticeable soft spots or indentations, as these may indicate bruising or internal damage. The weight of the fruit relative to its size can also be informative – a heavier fruit often indicates greater juice content and ripeness.
Storing Ball Fruit for Optimal Freshness
Proper storage significantly extends “Ball Fruit’s” shelf life and preserves its quality. Unripe fruit should be left at room temperature to ripen, away from direct sunlight. Once ripe, however, refrigeration is recommended to slow down the ripening process.
Store ripe “Ball Fruit” in a crisper drawer, ideally with moderate humidity. Avoid storing it with ethylene-producing fruits like bananas, as this can accelerate ripening and spoilage. Properly stored, “Ball Fruit” can remain fresh for up to a week, maintaining its flavor and texture.
Room Temperature Storage
For unripe “Ball Fruit,” room temperature storage is ideal for initiating and completing the ripening process. Place the fruit in a single layer, ensuring good air circulation. Avoid direct sunlight, which can cause uneven ripening and potentially degrade quality.
A cool, dry place is preferable, but typical room temperature (around 68-77°F or 20-25°C) is generally suitable. Check the fruit daily for ripeness – a slight give when gently pressed indicates it’s ready for refrigeration or consumption. Do not store at room temperature for more than three days.
Refrigeration Guidelines
Once “Ball Fruit” reaches desired ripeness, refrigeration significantly extends its shelf life. Store ripe fruit in the crisper drawer of your refrigerator, ideally with moderate humidity. This helps prevent moisture loss and maintains firmness.
Refrigeration slows down the ripening process, but doesn’t halt it entirely. Consume refrigerated “Ball Fruit” within 5-7 days for optimal flavor and texture. Avoid storing near ethylene-producing fruits (like apples or bananas) as this can accelerate spoilage. Properly refrigerated fruit will retain its quality much longer.
Preparing Ball Fruit for Consumption
Prior to enjoying “Ball Fruit,” thorough preparation is essential. Begin with a gentle washing under cool, running water to remove any surface dirt or debris. A soft brush can aid in cleaning the skin, if applicable.
Peeling techniques vary depending on the variety. Some “Ball Fruit” types have easily removable skin, while others may require a sharp knife. Once peeled, carefully inspect for any blemishes. Cutting can be done into slices, cubes, or segments, depending on your preference and intended use. Immediate consumption is best for optimal freshness.
Washing and Cleaning Procedures
Proper washing is paramount for “Ball Fruit” safety. Start by rinsing the fruit under cool, running water for at least 30 seconds, gently rubbing the surface to dislodge any dirt or potential contaminants.
For fruits with textured skins, a soft vegetable brush can be utilized to reach crevices. Avoid harsh soaps or detergents, as these can leave residue. A final rinse ensures complete removal of any loosened particles. Pat dry with a clean cloth or paper towel before peeling or consumption, maximizing freshness and hygiene.
Peeling and Cutting Techniques
Peeling “Ball Fruit” depends on the variety and skin thickness. A sharp paring knife or vegetable peeler works best, removing the outer layer with minimal flesh loss. For tougher skins, scoring lightly can aid peeling.
When cutting, consider the intended use. Wedges are ideal for snacking, while cubes suit salads. A sharp chef’s knife ensures clean cuts and prevents bruising. Removing any seeds or cores is essential before consumption. Proper technique preserves the fruit’s shape and maximizes enjoyment, enhancing its fresh appeal.
Serving Suggestions for Ball Fruit
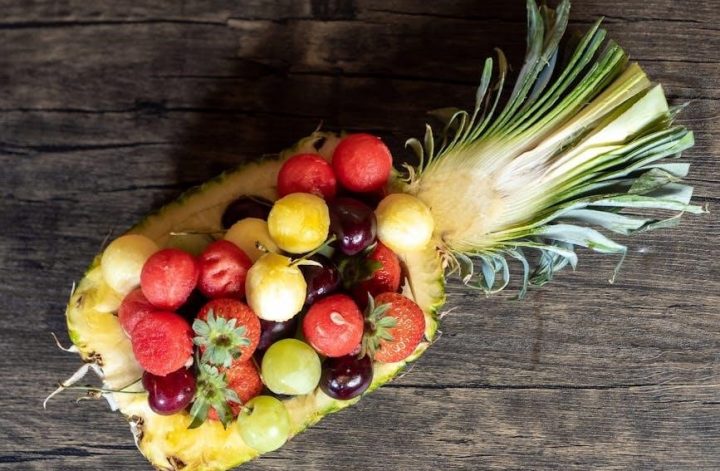
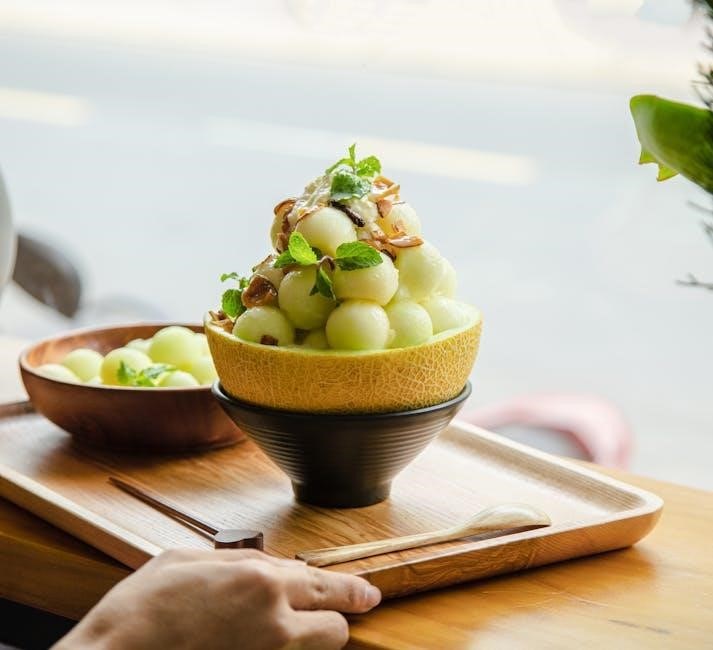
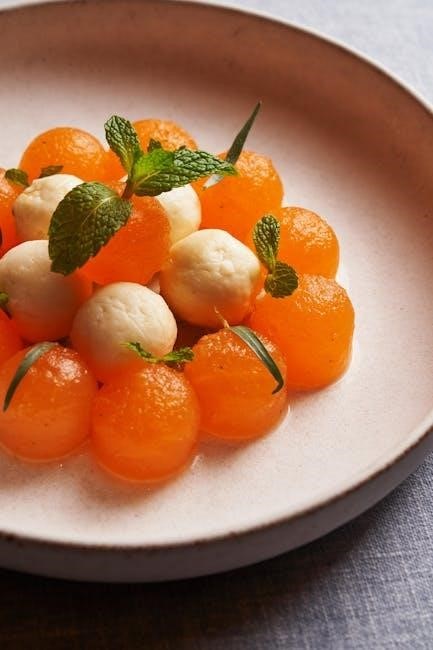
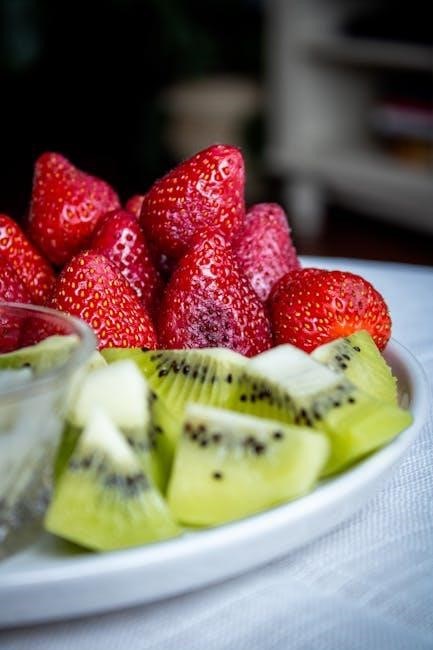
“Ball Fruit” offers versatile serving options. Enjoy it as a standalone snack – its natural sweetness is incredibly refreshing. For a more elaborate presentation, incorporate it into vibrant fruit salads, pairing well with citrus fruits and berries.
Consider adding it to yogurt parfaits for a healthy breakfast or dessert. It also complements savory dishes; try it with grilled meats or cheeses. A simple drizzle of honey or a sprinkle of mint elevates the flavor profile. Its spherical shape makes it visually appealing on any plate!
As a Standalone Snack
“Ball Fruit” excels as a simple, satisfying snack. Its naturally sweet flavor and juicy texture require no additional preparation, making it perfect for on-the-go enjoyment. The convenient, spherical shape fits comfortably in the hand, ideal for quick consumption.
For a chilled treat, briefly refrigerate before serving. It’s a healthy alternative to processed snacks, providing essential vitamins and fiber. Consider pairing it with a small handful of nuts for added protein and healthy fats, creating a balanced and energizing snack option; Enjoy its pure, unadulterated goodness!
Incorporating into Salads
“Ball Fruit” adds a burst of sweetness and vibrant color to both fruit and savory salads. Its firm texture holds well when tossed, preventing it from becoming mushy. Combine diced “Ball Fruit” with leafy greens, crumbled cheese (feta or goat cheese work well), and a light vinaigrette for a refreshing salad.
Experiment with contrasting flavors; a touch of chili flakes or a sprinkle of black pepper can enhance its sweetness. It pairs beautifully with citrus fruits, berries, and even grilled chicken or fish. Consider a “Ball Fruit” and avocado salad for a creamy, tropical twist!
Potential Health Benefits of Ball Fruit
“Ball Fruit” offers a range of potential health advantages due to its nutritional profile. While specific research is ongoing, its vitamin content supports immune function and overall wellness. The mineral composition contributes to healthy bone density and nerve function.
Furthermore, “Ball Fruit” is a good source of fiber, aiding digestion and promoting gut health. Its antioxidant levels help combat free radicals, potentially reducing the risk of chronic diseases. Regular consumption, as part of a balanced diet, may contribute to improved health outcomes and vitality.
Precautions and Allergies
Although generally safe, consuming “Ball Fruit” requires certain precautions. Individuals with known allergies to similar fruits should exercise caution and begin with a small portion to assess tolerance. Some may experience mild digestive upset, particularly with excessive intake, due to its fiber content.
Rarely, allergic reactions manifesting as skin rashes or itching have been reported. If any adverse symptoms occur, discontinue consumption immediately and seek medical advice. It’s crucial to source “Ball Fruit” from reputable suppliers to minimize potential exposure to pesticides or contaminants, ensuring safe enjoyment.
Ball Fruit in Different Cuisines
“Ball Fruit” demonstrates remarkable versatility across global cuisines. In some regions, it’s traditionally incorporated into savory dishes, lending a subtle sweetness to stews and curries. Elsewhere, it’s a star in desserts – pies, tarts, and refreshing fruit salads are common preparations.
Certain cultures utilize the rind for candied treats or marmalade. Fermented “Ball Fruit” beverages also exist, showcasing its adaptability. Modern chefs are experimenting with innovative applications, like “Ball Fruit” salsas and chutneys, highlighting its unique flavor profile and expanding its culinary reach.
Common Issues with Ball Fruit Quality
Maintaining “Ball Fruit” quality can be challenging. Bruising during handling and transportation is a frequent concern, leading to discoloration and softening. Inconsistent ripening, often due to varying growing conditions, results in uneven sweetness and texture.
Pest infestations and fungal diseases can compromise fruit integrity. Improper storage, particularly exposure to ethylene gas, accelerates ripening and spoilage. Some varieties are prone to internal browning, affecting appearance and palatability. Careful inspection at purchase and proper handling are crucial for ensuring optimal “Ball Fruit” quality.
Identifying Spoilage in Ball Fruit
Recognizing spoilage in “Ball Fruit” is vital for food safety. Look for soft spots, mold growth (often appearing as fuzzy patches), and a fermented or off-putting odor. Discoloration beyond typical bruising – dark, sunken areas – indicates decay.
A slimy texture or significant juice leakage are clear signs of deterioration. If the fruit appears overly wrinkled or shriveled, it’s likely past its prime. Avoid consuming “Ball Fruit” exhibiting these characteristics, as they may harbor harmful bacteria or toxins. Trust your senses – when in doubt, throw it out!
Frequently Asked Questions (FAQs) about Ball Fruit
Q: What exactly is “Ball Fruit”? A: It’s a uniquely shaped fruit, resembling a sphere, enjoyed globally for its taste and versatility.
Q: Can “Ball Fruit” be used in cooking? A: Absolutely! It’s excellent in salads, desserts, and even savory dishes.
Q: How do I know if my “Ball Fruit” is ripe? A: Look for a slight give when gently pressed and vibrant color.
Q: What’s the best way to store it? A: Refrigeration extends freshness, but room temperature is fine for short-term storage.
Ball Fruit and Weight Management
“Ball Fruit” can be a valuable addition to a weight-conscious diet. Its naturally sweet flavor can satisfy cravings, potentially reducing the intake of processed sugars. The fruit’s fiber content promotes a feeling of fullness, aiding in portion control and reducing overall calorie consumption.
Furthermore, “Ball Fruit” is relatively low in calories while providing essential vitamins and minerals. Incorporating it into meals or enjoying it as a snack supports healthy eating habits. Remember, balance and moderation are key for successful weight management alongside a nutritious diet.
Ball Fruit for Skin Health
“Ball Fruit” offers several benefits for maintaining healthy, radiant skin. Its rich vitamin C content acts as a potent antioxidant, protecting skin cells from damage caused by free radicals and environmental stressors. This can contribute to a more youthful appearance and reduced signs of aging.
Additionally, the fruit’s mineral composition supports collagen production, essential for skin elasticity and firmness. Regular consumption may improve skin texture and promote a healthy complexion. Hydration, aided by the fruit’s water content, further enhances skin health and vitality.
Ball Fruit and Digestive Health
“Ball Fruit” is a valuable addition to a digestive-friendly diet, primarily due to its substantial fiber content. This fiber aids in promoting regularity, preventing constipation, and supporting a healthy gut microbiome. The fruit’s natural enzymes can also assist in breaking down food, easing digestion and reducing bloating.
Furthermore, the antioxidants present in “Ball Fruit” contribute to reducing inflammation within the digestive tract. This can be particularly beneficial for individuals experiencing digestive discomfort or sensitivities. Consuming this fruit can foster a balanced and efficient digestive system, enhancing overall well-being.
Growing Ball Fruit (Brief Overview)
Cultivating “Ball Fruit” requires a warm climate and well-drained soil, thriving in conditions similar to those needed for citrus trees. Propagation is typically achieved through grafting, ensuring consistent fruit quality. These plants need ample sunlight and regular watering, especially during fruit development.
Pruning is essential for maintaining shape and maximizing yield. “Ball Fruit” trees are susceptible to certain pests and diseases, necessitating preventative measures. Harvesting occurs when the fruit reaches full color and slight softness. Successful cultivation demands patience and consistent care, rewarding growers with a unique and flavorful harvest.
Sustainable Sourcing of Ball Fruit
Prioritizing sustainable sourcing of “Ball Fruit” involves supporting farms committed to environmentally friendly practices. Look for growers who minimize pesticide use and conserve water resources. Fair trade certifications ensure ethical labor standards throughout the supply chain, benefiting farming communities.
Reducing transportation distances minimizes the carbon footprint associated with distribution. Choosing locally grown “Ball Fruit” whenever possible supports regional economies and reduces environmental impact. Consumers can actively contribute by asking retailers about sourcing practices and opting for responsibly produced options, fostering a more sustainable future.
“Ball Fruit” offers a delightful and nutritious experience when consumed mindfully. By prioritizing sustainable sourcing and responsible consumption, we contribute to a healthier planet and support ethical farming practices. Understanding proper storage and preparation techniques maximizes freshness and minimizes waste.
Enjoying “Ball Fruit” as part of a balanced diet provides numerous health benefits, from essential vitamins to dietary fiber. Being aware of potential allergies and practicing moderation ensures a safe and enjoyable experience for everyone. Let’s savor this unique fruit responsibly, appreciating its versatility and positive impact.